Creating Areas / Rooms
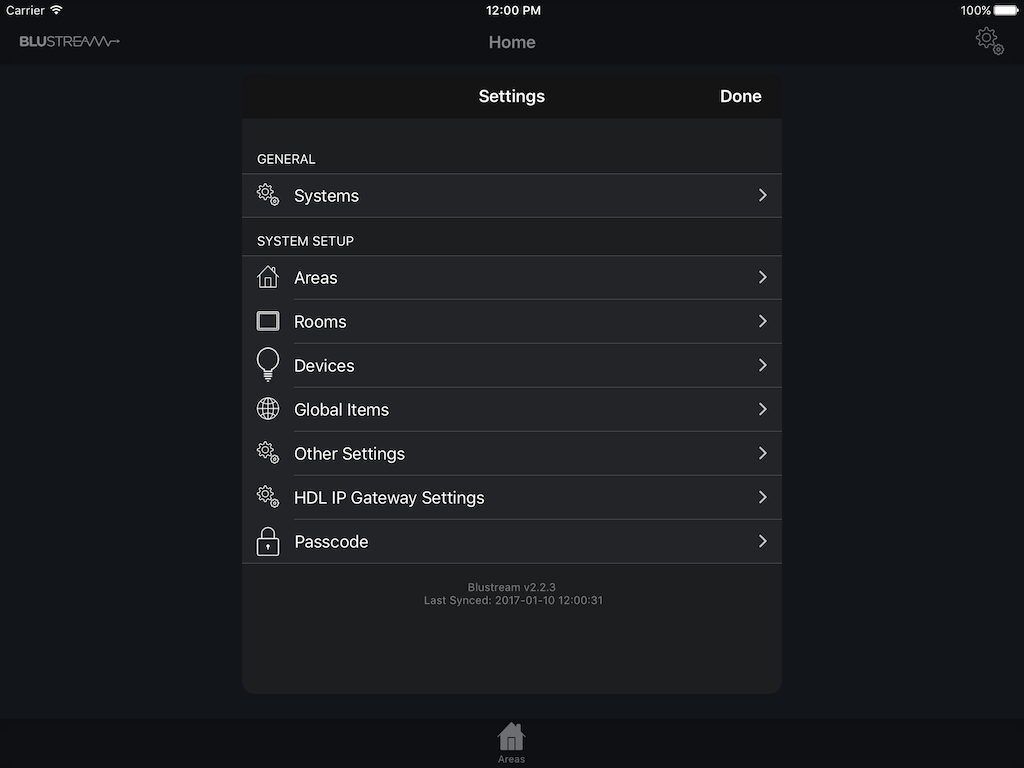
Clicking the settings icon in the top right will take you to the Settings menu for the system. It is recommended to set up your Areas / Rooms / Circuits before setting up the various source, screen & HDL devices.
Tap on Areas > Add a new Area, and enter the area name.
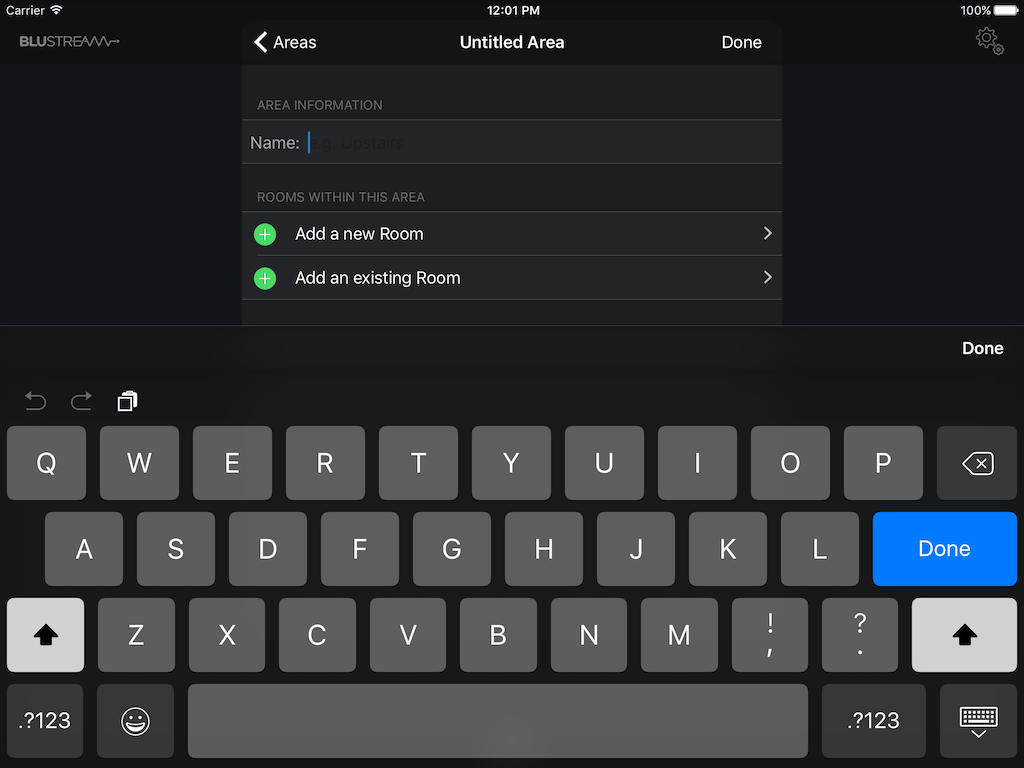
Once an Area has been created, a new Room can be added to the Area by tapping Add a new Room. Rooms have a name i.e. ‘Lounge’, and an associated Image.
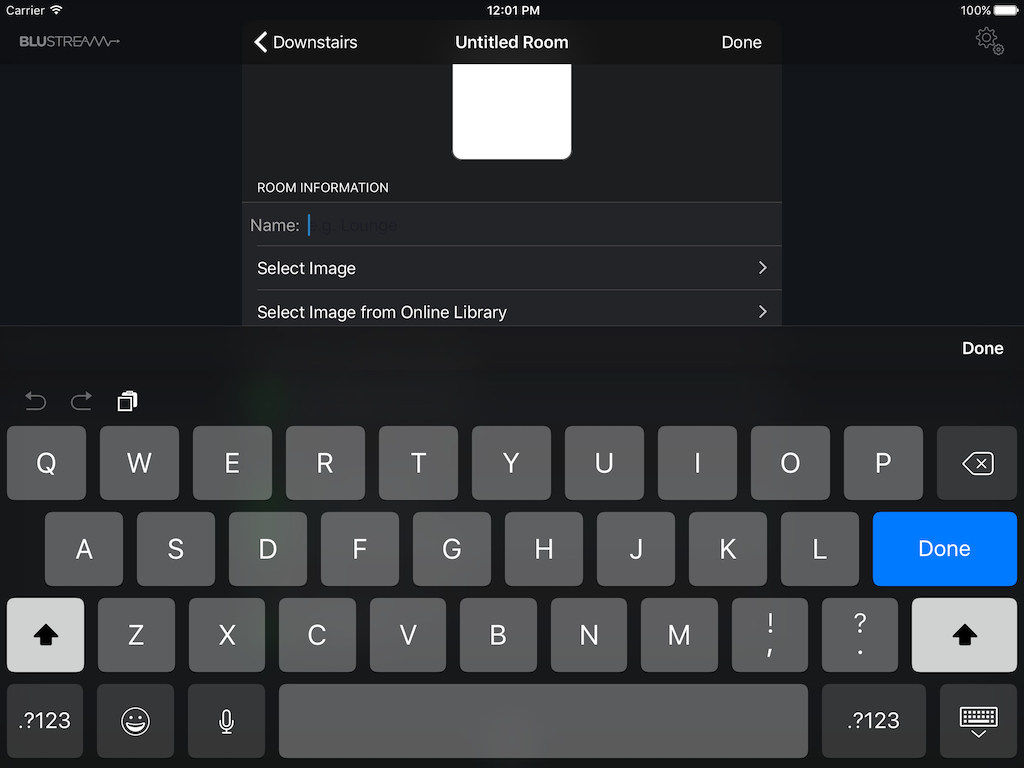
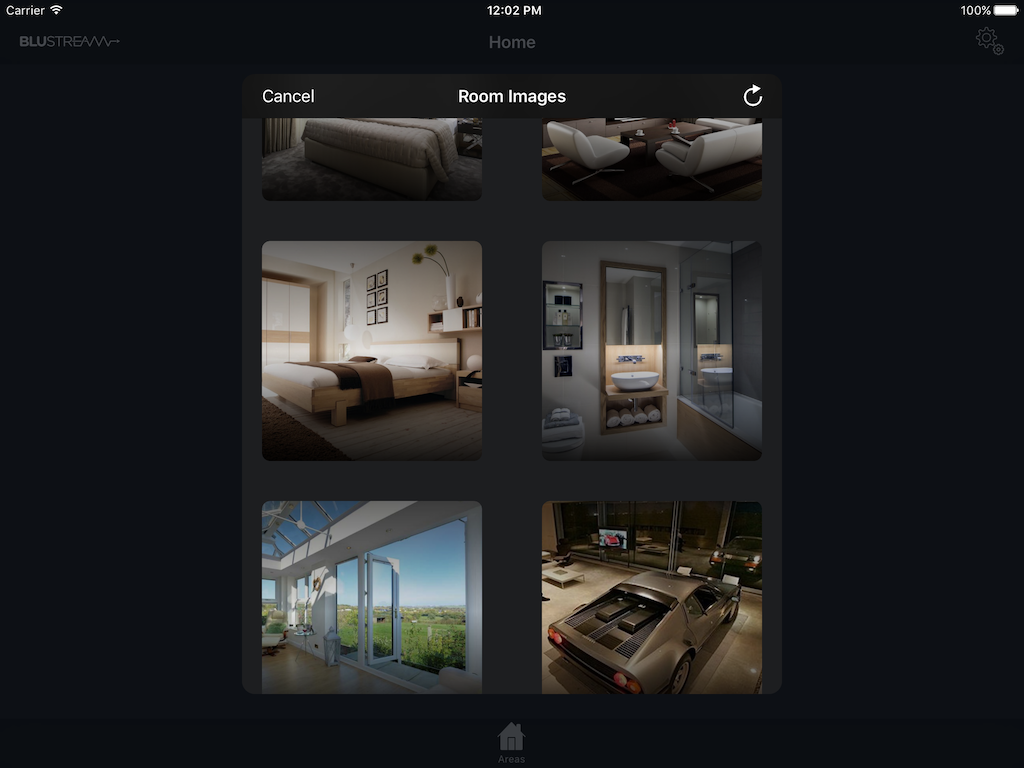
There are several options for including the image:
- Select an Image from the pre-defined Online Library
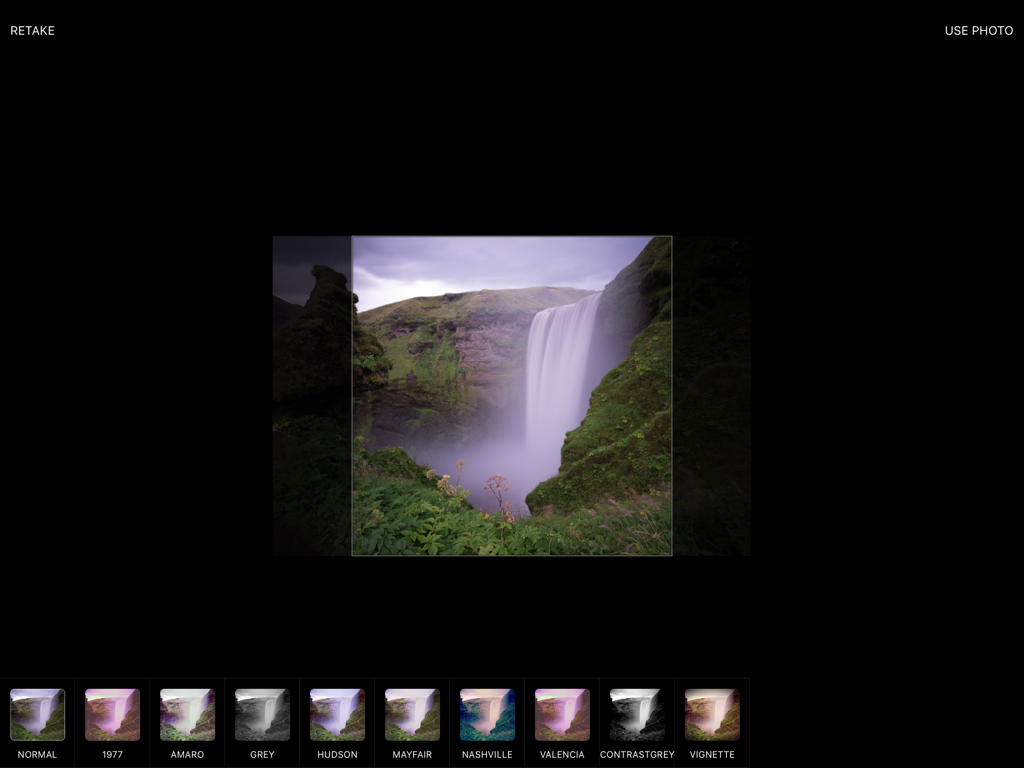
- Select an Image – and take a photo with the device's built in camera, using the centre camera image button.
- Select an Image – and browse to the photo library on the iOS device, using the bottom right button which is displayed when the camera is shown.
Adding AV Controls to a Room
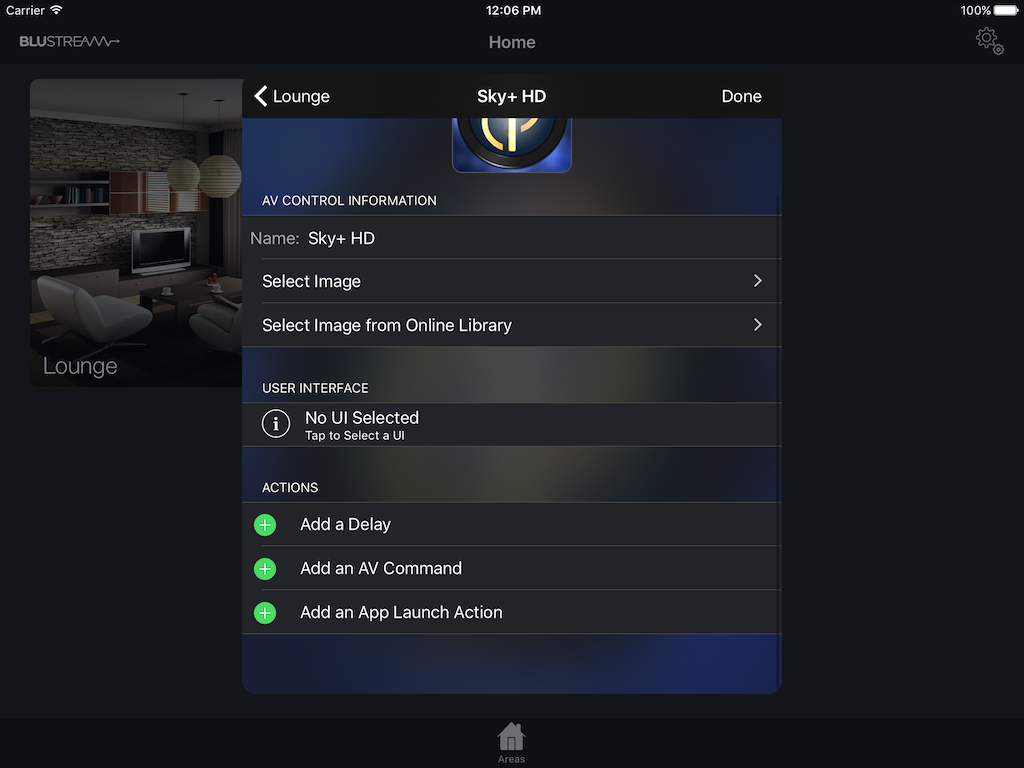
AV Controls provide a mechanism to control AV Equipment from within the Blustream App, or as a quick way to jump to other Apps e.g. Sonos.
To add an AV Control to the room tap on Add a new AV Control and enter the AV Control name i.e. Sky+ HD. You can then choose a custom icon/image and begin to add a user-interface (UI) element, Actions or a mixture of both.
A typical setup would involve sending the TV Power On/Source commands as actions, and then have the source control as the AV Interface.
Adding Circuits to a Room
Tap on Add a new Circuit and enter the circuit name (e.g. Ceiling Spots) and select the circuit type – Dimmable Circuit, Non-Dimmable Circuit, or DMX RGB Circuit. The choice of Circuit type will determine the type of control placed in the room – On/Off with slider, On/Off only, or a Color Wheel for selecting an RGB color.

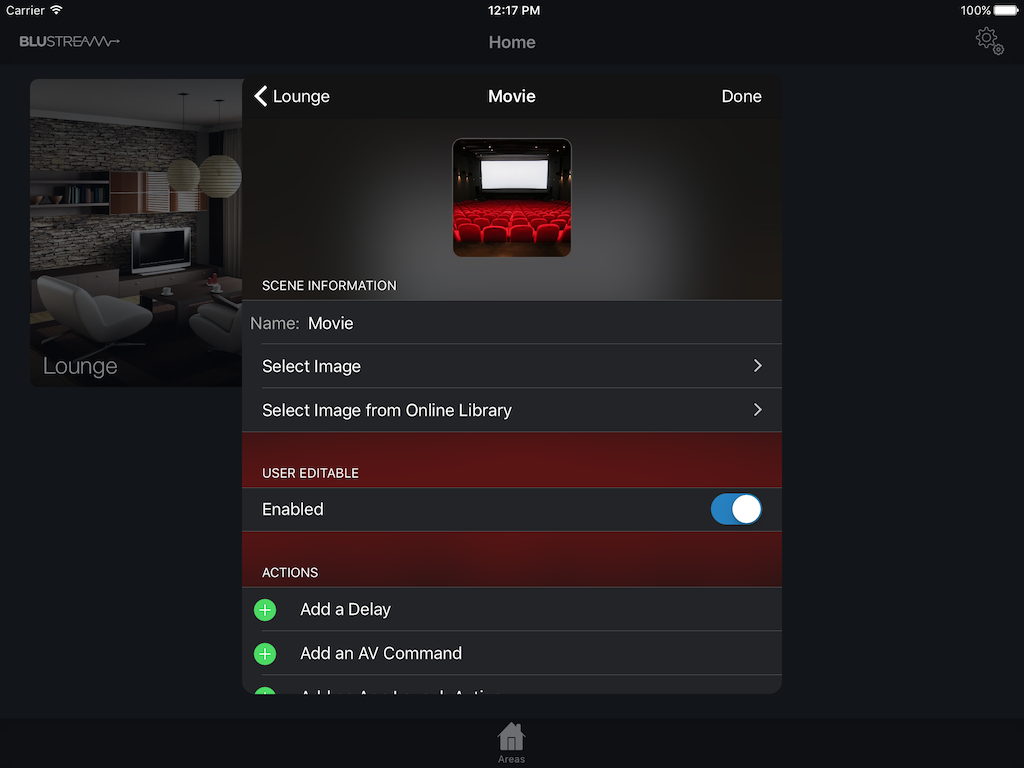
Adding Scenes to a Room
Click Add a Scene and enter the scene name, e.g. Movie. You can also select whether the scene can be altered by the end-user interface (see setting a passcode for more information).
Initially you will want this to be Editable, to allow you to set the scenes initially, but you can then go back in to the room & set Editable OFF to prevent the end user from altering some, or all of the scene settings.
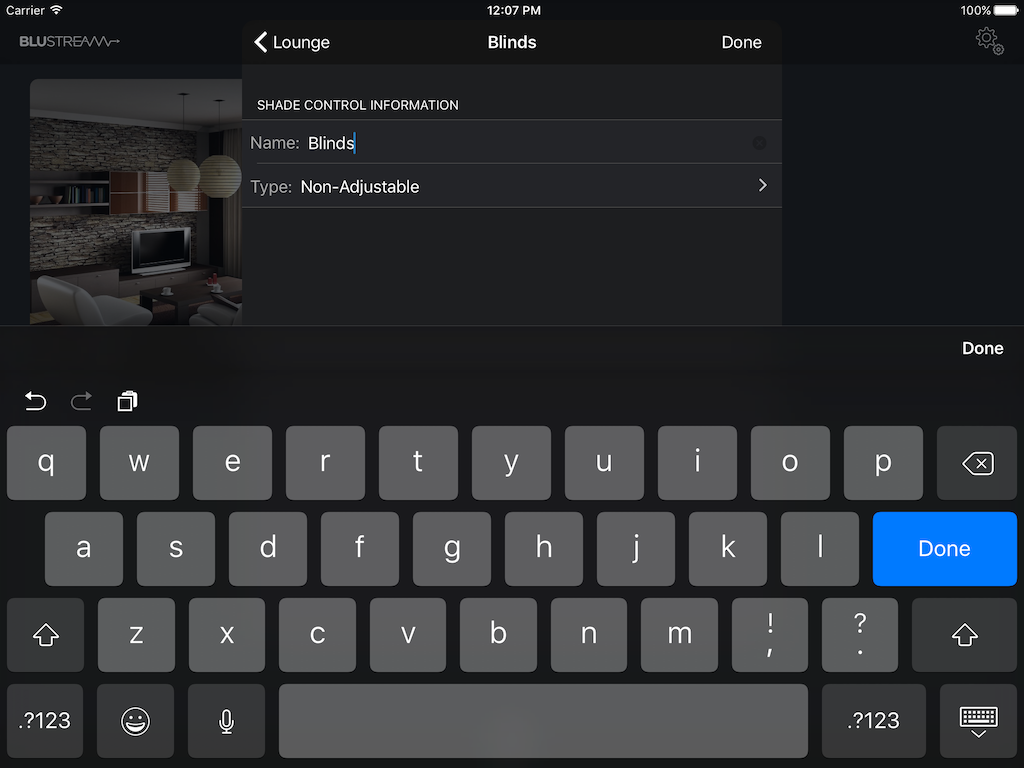
Adding Shade Controls to a Room
Shade controls can be used to control either curtains or blinds.
Click Add a new Curtain Control and enter a name for the control, e,g Main Curtains. Shade controls can also be either Adjustable or Non-Adjustable.
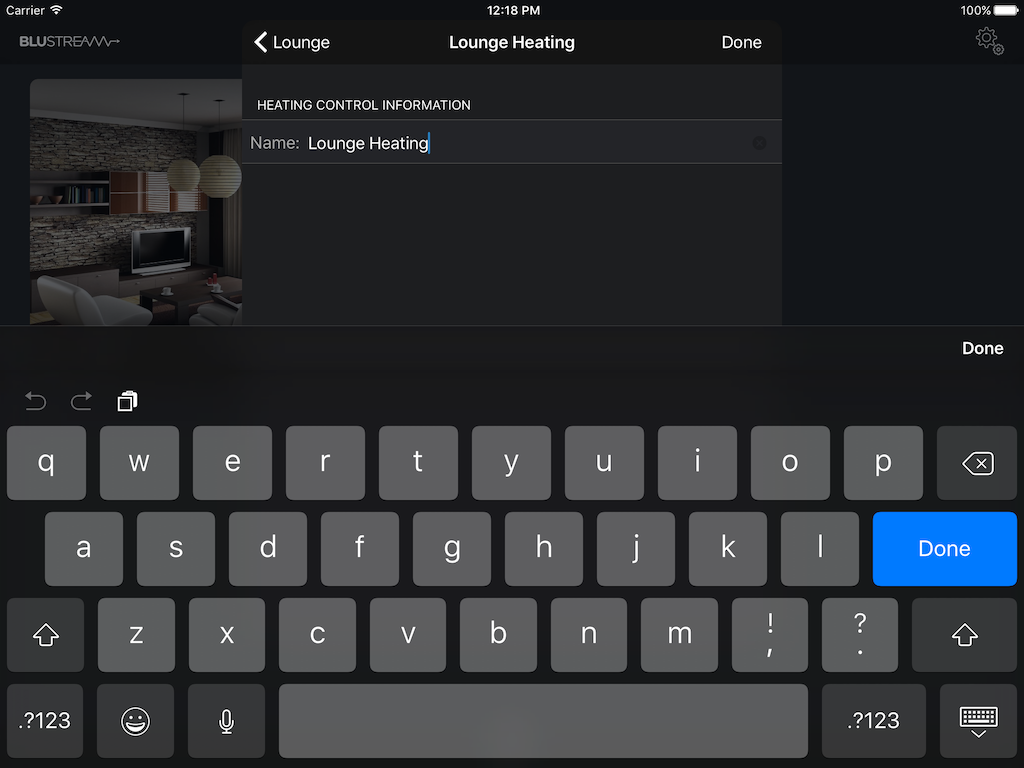
Adding Heating and HVAC Controls
In order for the Underfloor Heating or HVAC controls to be available in the app interface, you must add a heating control to a room, and link that virtual heating control to the heating device channel.
Simply select either Add a new Heating Control or Add a new HVAC Control and type in a name.
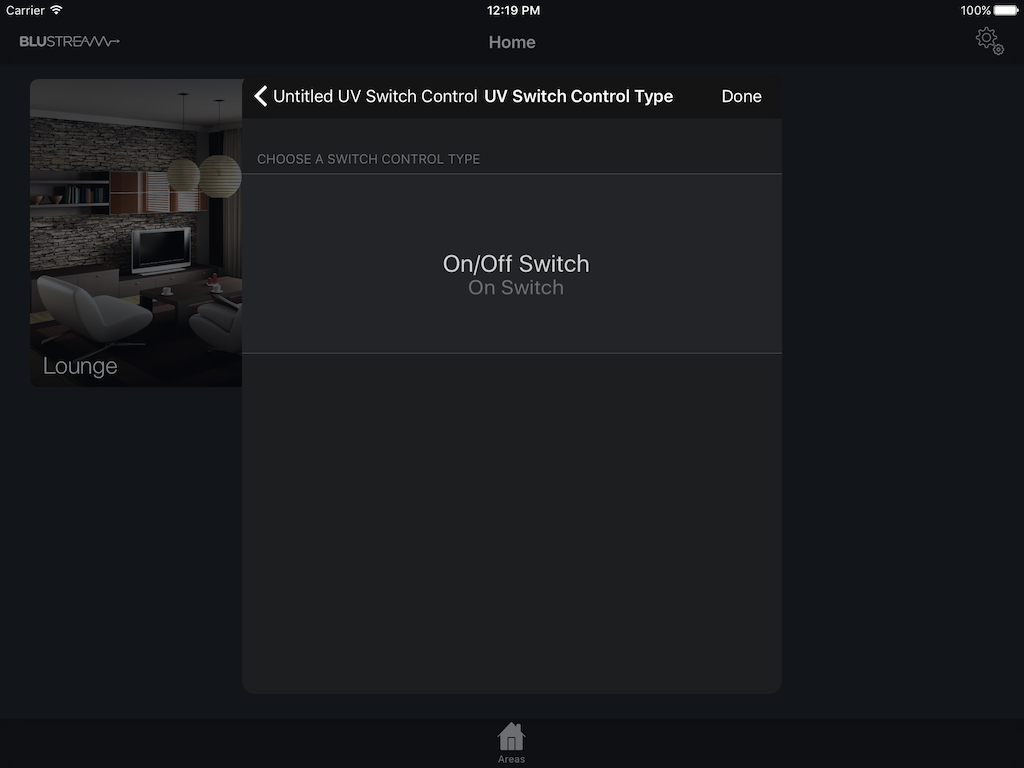
UV Switch Controls
UV Controls in the app can either be an On Switch or an On/Off Switch. On switches will automatically send the off command to reset the switch after it has been activated – this is commonly used with the IR Emitters. Simply tap Add a new UV Switch Control and enter it's name and type.
Note: Many of the Room Controls can be easily added to another room by choosing the Add an existing _ option where available.
Once Areas and Rooms have been created, it's time to add devices.